How to Add an Email to iPhone Devices
Your smartphone is an essential, everyday tool for communication and collaboration. Setting up an email on your iPhone brings convenience and efficiency to your life and workflow. You can quickly access your inbox any time and from anywhere, ensuring you never miss important messages.
In addition, you can integrate your email on your smartphone with features like contacts, calendars, and document editing tools, streamlining your workflow.
But how to add an email to iPhone devices?
Well, it is very easy and quick to set up email on iPhone devices. Our step-by-step guide on how to add an email to iPhone devices will make the process even easier.
Let us get started:
How to Add an Email to iPhone
You can add multiple emails to your iPhone so you can receive emails to all addresses in one place and send emails from any account. If this is your first time setting up an email to your iPhone, here is how you can do this:
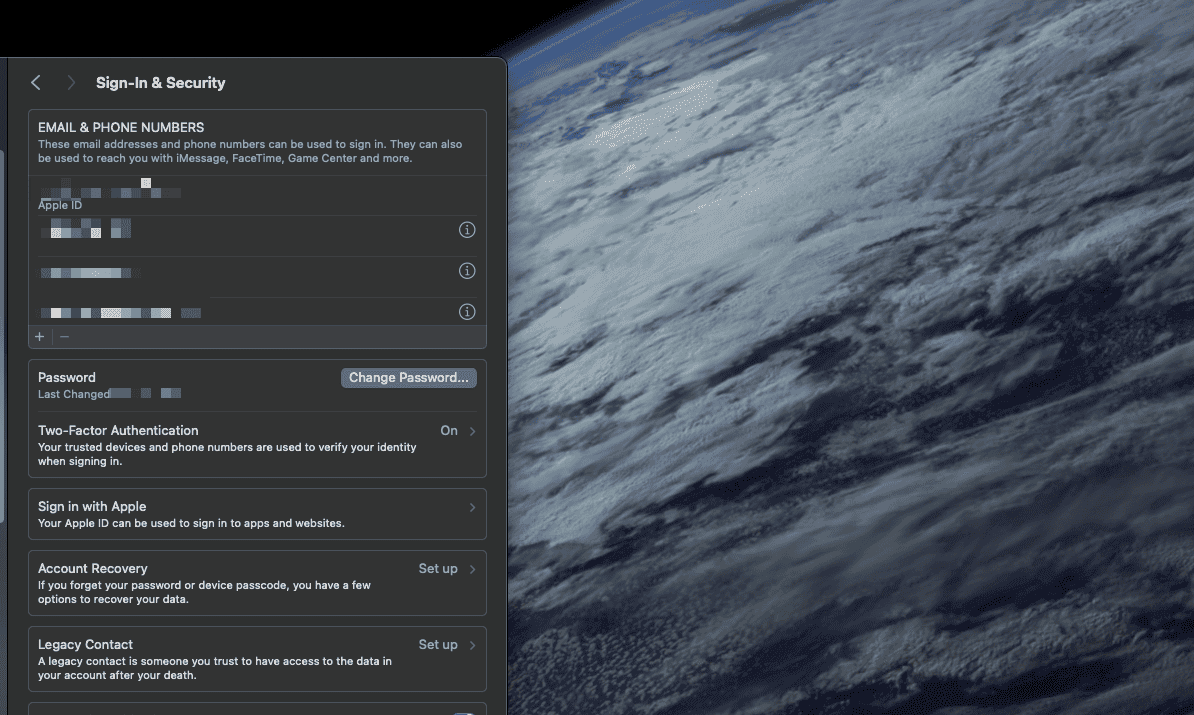
Step 1: Locate Email Settings in Your iPhone.
After gathering email settings from your email provider, it is time to configure your iPhone’s Mail account settings. First of all, you need to gather email settings from your email provider. Next, open the Settings app > Mail > Accounts.

Then, tap Add Account and jump to the next step.

Step 2: Select Your Account Type.
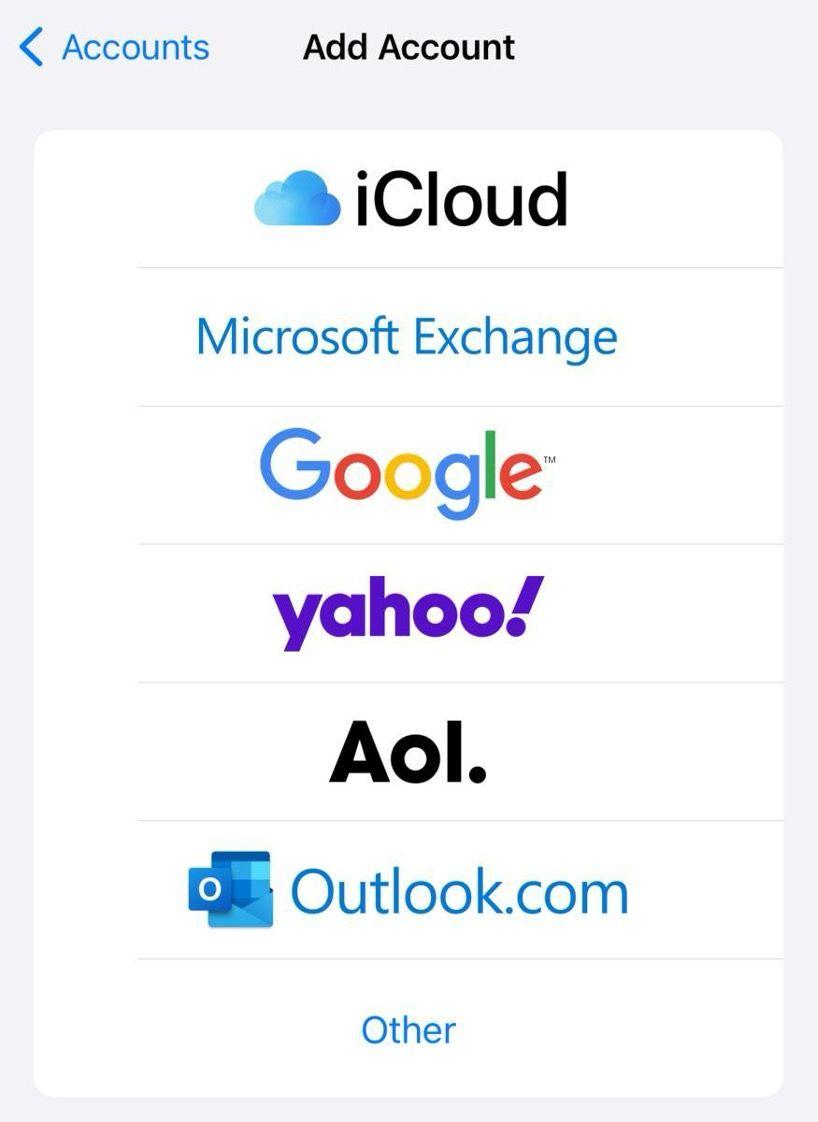
Tap your email service from the list on the Add Account page. Following are the types of emails each provider supports:
- iCloud: icloud.com, me.com, and mac.com emails.
- Microsoft Exchange: Exchange-based corporate email s and onmicrosoft.com accounts.
- Google: gmail.com emails.
- Yahoo: yahoo.com emails.
- Aol: aol.com, aim.com, verizon.net emails.
- Outlook.com: outlook.com, hotmail.com, live.com emails. If iOS does not support your preferred email service, tap Other > Add Mail Account. Then, manually add your email account information to your iPhone.
Step 3: Enter Your Email Account Information.
Tap Add Mail Account and fill out your email account information in the New Account form. You will be required to enter the following details:
- Name of the sender
- Email address
- Password
- Description (additional information, which only you can see) If Mail cannot find your email server, tap Next to continue.
Step 4: Enter Details of SMTP and IMAP Server
Now, configure income and outgoing mail servers for sending and receiving mail, respectively. The income mail server usually uses the IMAP protocol, but POP3 may also be used. Outgoing mail server employs the SMTP protocol.
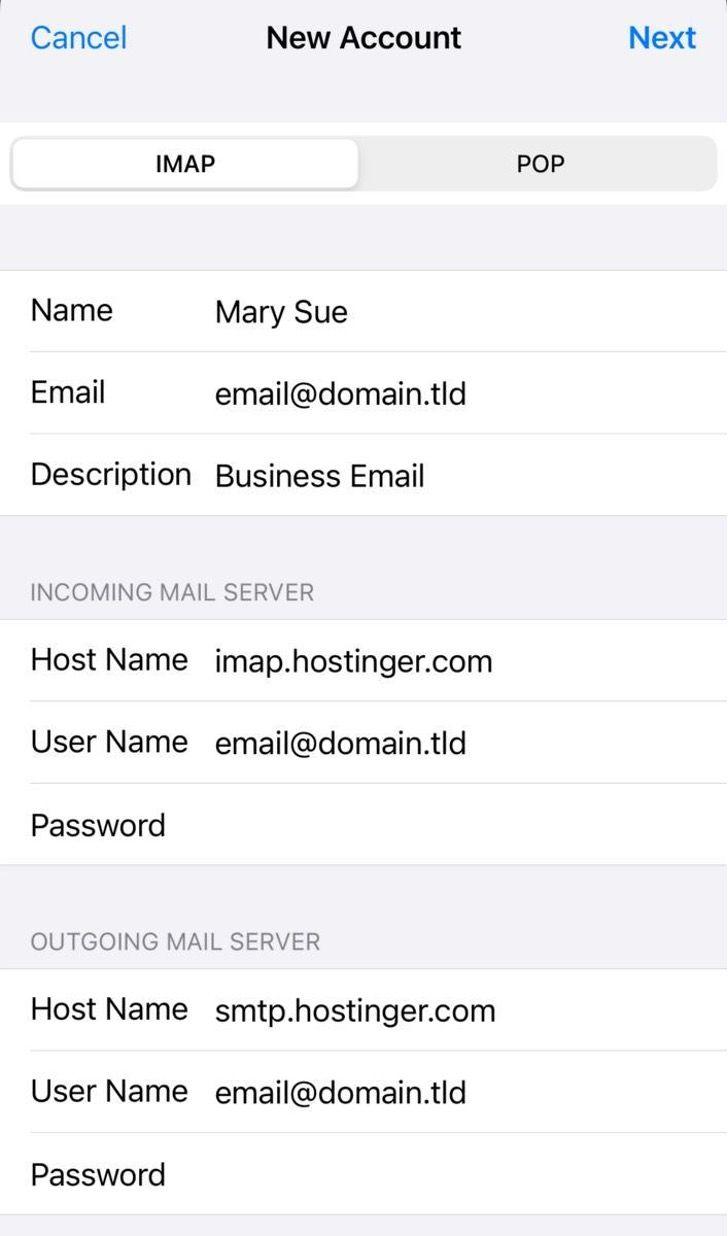
You also have to choose between IMAP and POP. If you are not sure which one to select, contact your email service provider. You will also need the IMAP- and SMTP-settings from your email service provider.
In this tutorial, we will go with IMAP, which requires you to enter your email server settings:
- Host-/servername
- Username
- Password
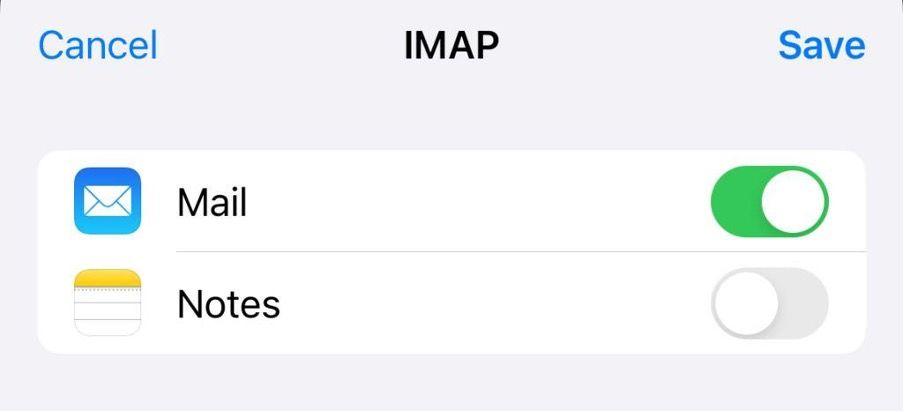
Step 5: Complete the Process
Click Next to initiate the verification process. After successful verification, a prompt will appear asking if you can integrate your email account with the Mail app, the Notes app, or both. Select and tap Save to complete the process to set up email on iPhone.
Finally, you should be able to see your email account on the Accounts page.
How to Add Multiple Email Addresses to Your iPhone
Fortunately, you can add and use more than one email ID to your iPhone at the same time. Simply follow these steps:
- Head to the Settings app on your iPhone.
- Tap the Passwords & Accounts menu.
- You will see all the email accounts you have already added. Scroll down to find Add Account to add another email account.
Then, follow the same steps as for how to set up email on iPhone.
How to Delete an Email Account on iPhone
Sometimes, you may want to delete old, unused email addresses on your iPhone. You can do this by following these steps:
- Open the Settings app.
- Find and tap the Passwords & Accounts menu.
- Scroll to the bottom and tap Sign Out.
- Select between Keep on Your iPhone or Delete from Your iPhone. If you want to remove your email account from your iPhone, tap Delete from Your iPhone.
Confirm your decision, and your selected email account will be deleted from your iPhone.
When you choose this method (Account menu in your iPhone’s settings) to remove an email account from your iPhone, you can easily manage the functions of each account. For example, you can delete emails on Gmail without losing associated calendar appointments.
You can also manage and delete your email accounts directly from email providers’ apps.
How to Delete an Email Account on iPhone from Gmail App
- Open Gmail on your iPhone.
- Head to the Profile page.
- Tap Manage Accounts, and you will see a list of your Gmail accounts.
- Select Remove from this device.
Please note that removing a Google account may log you out of all relevant apps like YouTube, Google Maps, and Google Docs.
How to Delete an Email Account on iPhone from Outlook App
- Open the Outlook app on your smartphone.
- Click on your profile picture.
- Select the Outlook account you want to remove.
- Swipe left.
- Choose Delete.
Wrapping Up
We hope our guide on how to add an email account to your iPhone makes it easy to successfully set up your email on your smartphone and make your life easier on the go.
If you still need to an email address, check out our guide on how to create an email address or create a new email directly on Inbox.com.
Updated: April 23, 2024 at 2:24 PM
Published: January 21, 2024 at 6:06 PM